


If you’re using Styles in your Microsoft Word document, you can insert an automatic Table of Contents with just a few clicks. And if you’ve ever wondered how to insert updatable references like “see page 9 for more”, you’ll learn how to do that as well in this tip.
Use Styles for Speed and Consistency (on a Mac)
The first step before you can insert Tables of Contents or page references is to use Styles. You can find these in the Styles groups under the Home tab on the Ribbon. If you want to switch to a different Style set, go to the Document Formatting group under the Design tab.
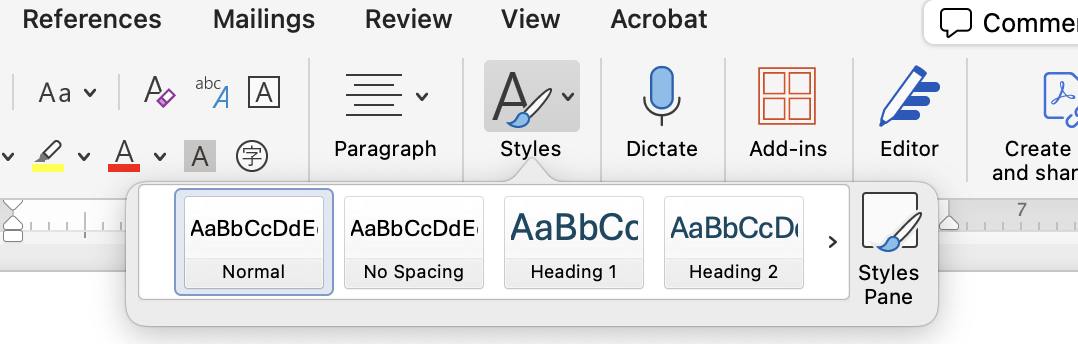
All you have to do is select your document’s headings, and apply Styles like Heading 1, Heading 2, Heading 3, etc.

Inserting a Table of Contents
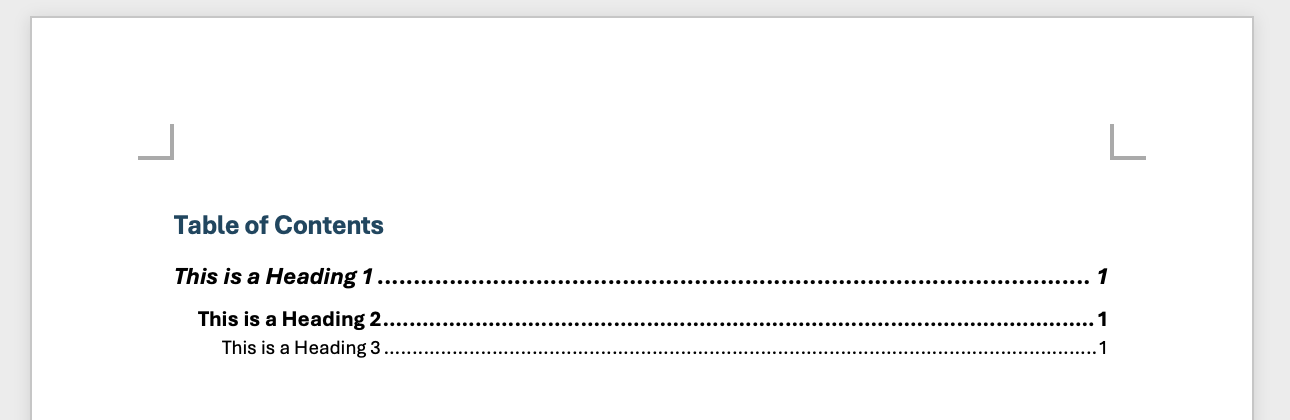
A table of contents is automatically generated from the Styles you’ve applied, such as Heading 1, Heading 2, Heading 3, and so on.
Once you’ve used Styles, you can insert a Table of Contents.
- Insert your cursor where you want the Table of Contents to go.
- On the Ribbon, go to the References.
- Under the Table of Contents group on the left, click the Table of Contents button. You can choose to insert a default option, or click on Custom Table of Contents… at the bottom of the menu.
- To insert a custom Table of Contents, select the option from the menu.
- The Table of Contents window will appear:
- Under General, you can adjust Show levels to change how “deep” your table of contents is. For example, it defaults to 3 levels, which could Heading 1, Heading 2, and Heading 3. You can adjust it to 2 so that it only shows Heading 1 and Heading 2.
- To change which Styles are included in your table of contents, click the Options… Here you see Available styles on the left and the TOC level on the right. You can rearrange them, such as removing “1” from next to the Running Header style.
- When you are done making adjustments, click OK and the table of contents will be inserted.
Inserting References to Sections of Your Document
With your Heading styles applied, you can also now insert page references in your document. For example, let’s say you want to refer to the page number of a certain section with a heading, like “For instructions, see Inserting a Table of Contents on page X“.
- Insert your cursor where you want the page reference to go.
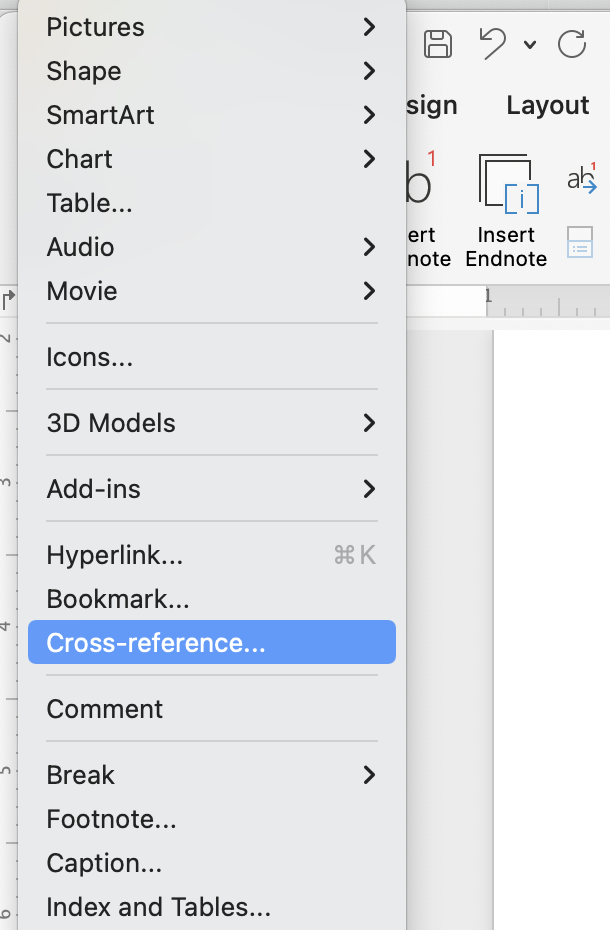
- In the top menu, go to Insert and then Cross-reference…
- In the window that appears, change Reference type to “Heading” and Insert reference to to “Page number”.
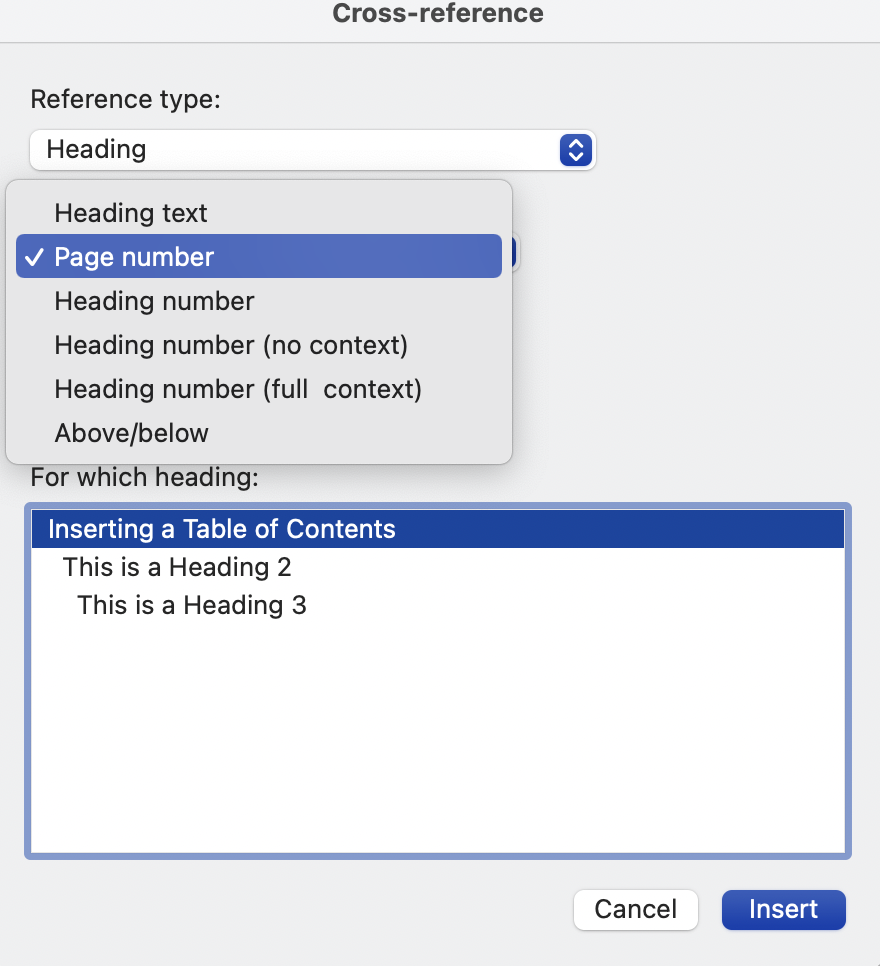
- Select the heading you want to refer to in the list below, then click Insert.
Updating Your Table of Contents and References
If you add new sections or items move to new pages, you’ll need to update your table of contents and any page references.
To update your table of contents:
- Right click on your table of contents and choose Update Table.
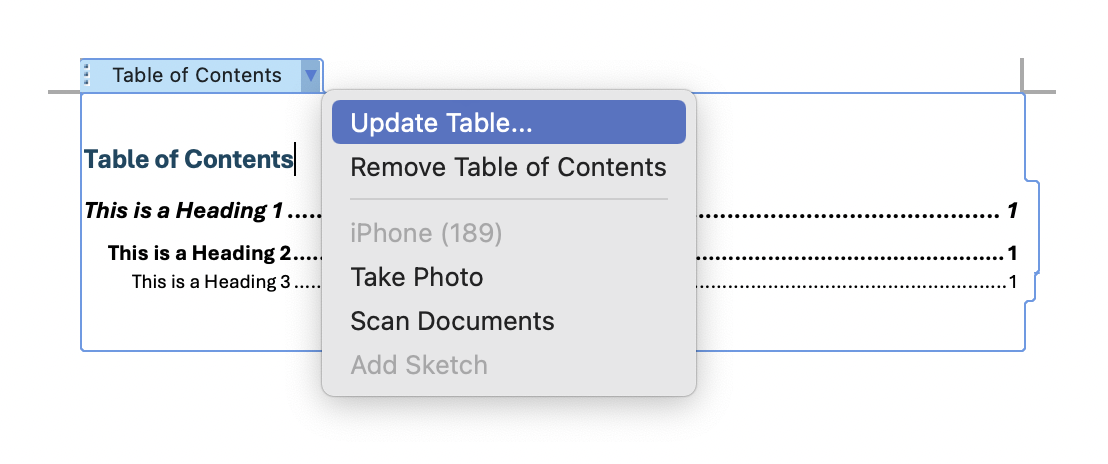
- Choose Update page numbers only if your page numbers are the only thing that has changed. Choose Update entire table if you have new headings and sections that need to be included.

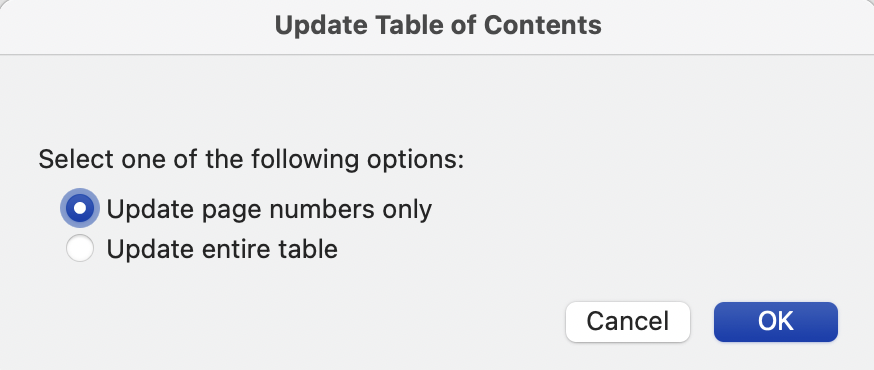
- Click OK.
To update your page number references:
Updating references is easy! Right-click your page number reference (you may need to click on it until it is highlighted in gray first) and choose Update Field. 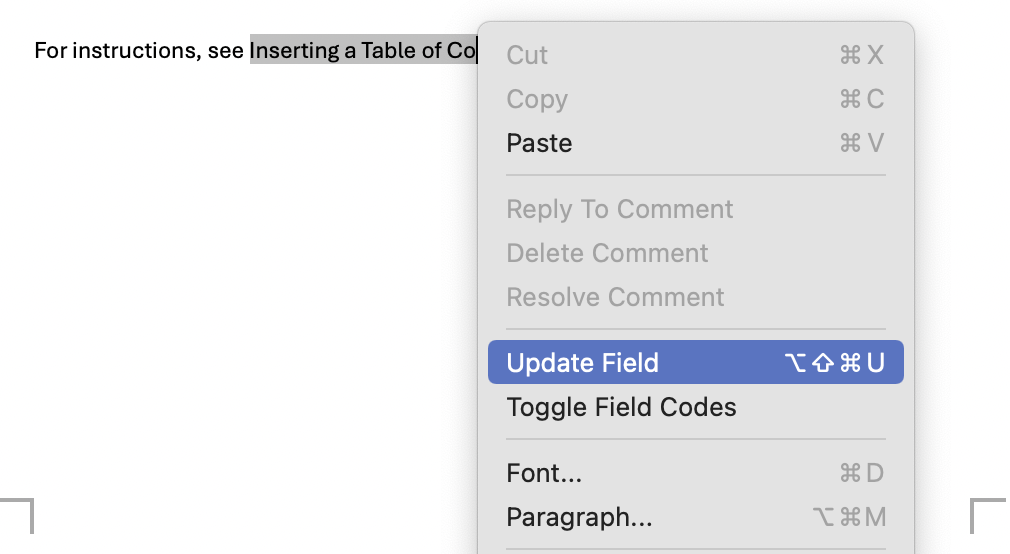
And that’s it! Now you can create tables of contents and page references in Microsoft Word with just a few clicks.